
Growing cannabis at home has become increasingly popular, especially with the legalization of cannabis in Canada. Whether you’re looking to cultivate your own medical supply or simply enjoy the process of growing your own plants, homegrown cannabis offers numerous benefits. It gives you full control over the growing process, ensuring that your plants are healthy, organic, and free from harmful chemicals.
In this step-by-step guide, we’ll walk you through the entire process of growing cannabis at home—from selecting the right cannabis seeds to harvesting your plants. By the end, you’ll have a thorough understanding of the steps involved in growing cannabis and how to ensure the best possible results.
Step 1: Choose the Right Cannabis Seeds
The first step in growing cannabis at home is choosing the right seeds. There are several different types of cannabis seeds, and each type has its own growing requirements. Here are the main types of seeds you’ll encounter:
1. Feminized Seeds
Feminized cannabis seeds are genetically modified to produce only female plants. Female plants are the ones that produce the buds containing THC and CBD, which are the active compounds in cannabis. Feminized seeds are an excellent choice for growers who want to ensure they only grow female plants, which are the ones that yield the most valuable part of the plant.
2. Autoflowering Seeds
Autoflowering cannabis seeds are a great option for beginners because they are easier to grow. These seeds automatically switch from the vegetative stage to the flowering stage without needing a specific light cycle. Autoflowering plants tend to be smaller, making them perfect for limited space or indoor growing.
3. Regular Seeds
Regular cannabis seeds are the most natural form and will produce a mix of male and female plants. Male plants don’t produce buds, but they are essential for breeding. Regular seeds are typically chosen by more experienced growers who want to breed their own strains.
Once you’ve selected the right seeds for your growing space and needs, you’re ready to move on to the next stage.
Step 2: Germinate the Seeds
Germination is the process of encouraging cannabis seeds to sprout. It’s a crucial stage for ensuring healthy plants. Here’s how you can germinate your cannabis seeds at home:
1. The Paper Towel Method
One of the most popular methods of germinating cannabis seeds is the paper towel method. Here’s how it works:
- Place a damp paper towel on a plate.
- Place your seeds on the paper towel and cover them with another damp paper towel.
- Keep the plate in a warm place (around 21°C to 26°C) for 2-7 days.
- Check the seeds daily to make sure they remain moist. The seeds will begin to sprout, and you should see a small root emerging.
2. The Glass of Water Method
Another popular method is the glass of water method. Here’s how you can do it:
- Place the seeds in a glass of water.
- Let them sit for about 12-24 hours, and you should notice the seeds beginning to sink.
- Once the seeds have sunk, they are ready to be planted in your growing medium.
Once your seeds have germinated, you can move on to the next step—planting them in the soil.
Step 3: Prepare the Growing Medium
Choosing the right growing medium is essential for healthy cannabis plants. There are several options for growing cannabis, including soil and hydroponics. Most beginners opt for soil, as it’s the easiest and most forgiving medium.
1. Soil
Soil is the most common growing medium for cannabis and is preferred by many growers for its ease of use. There are various types of soil, but for cannabis, it’s best to use a well-draining soil mix with organic nutrients. Look for soil that has a pH level between 6 and 7, as cannabis plants thrive in this range.
If you’re growing indoors, consider using potting soil mixed with perlite and vermiculite to improve drainage. Outdoor growers will also need to amend the soil with compost and organic matter to ensure the plants have the nutrients they need.
2. Hydroponics
Hydroponics is a soil-free method of growing cannabis where the plant roots are submerged in nutrient-rich water. This method requires more advanced knowledge and equipment but can result in faster growth and higher yields. If you’re new to growing cannabis, it’s advisable to start with soil until you gain more experience.
Step 4: Planting the Seeds
Once your seeds have sprouted and your growing medium is ready, it’s time to plant the seeds.
- Prepare Your Pots: Choose containers that are large enough to allow the roots to grow. If you’re starting with seedlings, 3-5 gallon pots should suffice for the early stages.
- Plant the Seeds: Make a small hole about 1-2 cm deep in the soil. Gently place the sprouted seed into the hole with the root facing down. Cover the seed lightly with soil.
- Water the Seeds: After planting, water the soil lightly to keep it moist. Avoid over-watering, as this can lead to root rot. Keep the soil moist but not soggy.
Step 5: Vegetative Stage
During the vegetative stage, your cannabis plants will focus on growth, developing leaves and stems. This stage lasts about 3-8 weeks, depending on the strain and growing conditions.
1. Lighting
Cannabis plants need a lot of light during the vegetative stage. If you’re growing indoors, use grow lights that mimic the sun’s spectrum, such as LED or fluorescent lights. The light cycle should be around 18-24 hours of light and 6-0 hours of darkness each day to encourage healthy growth.
2. Watering and Nutrients
During the vegetative stage, cannabis plants need a lot of nutrients, particularly nitrogen, which supports leaf growth. Be sure to feed your plants with a high-nitrogen fertilizer during this stage. Water your plants regularly but allow the soil to dry out between watering.
3. Pruning and Training
Pruning and training techniques, such as topping, low-stress training (LST), and defoliation, help control plant growth and encourage more bud sites. These methods are especially important if you’re growing indoors and want to maximize your yield in limited space.
Step 6: Flowering Stage
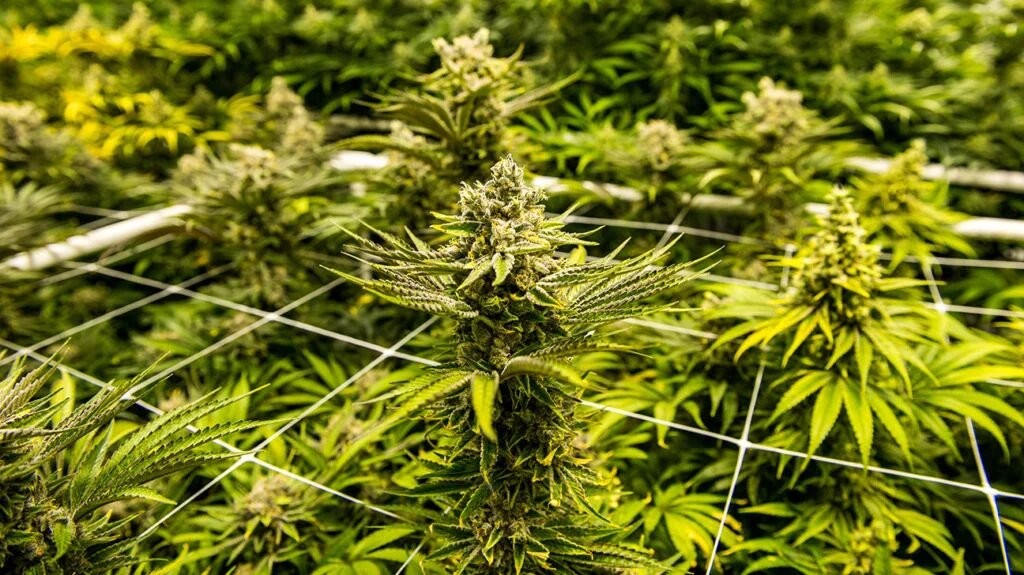
The flowering stage is when your cannabis plants begin to develop buds. For most cannabis strains, the flowering stage lasts about 8-12 weeks.
1. Changing the Light Cycle
To trigger the flowering stage, you’ll need to change the light cycle to 12 hours of light and 12 hours of darkness. This mimics the natural light cycle of autumn, signaling to the plant that it’s time to produce flowers.
2. Nutrients for Flowering
During the flowering stage, cannabis plants require more phosphorus and potassium to support bud development. You should switch to a phosphorus-rich fertilizer to promote healthy flowers and increase yield.
3. Monitor Your Plants
Keep an eye on your plants for signs of pest infestations or diseases. Regularly check the buds for mold or mildew, as these issues can ruin your harvest. Also, be vigilant about maintaining the right temperature and humidity levels.
Step 7: Harvesting
Harvesting your cannabis plants at the right time is crucial for achieving the best possible yield and potency. Harvest when the trichomes (small resin glands) on the buds are milky white to amber, indicating the highest levels of cannabinoids.
1. Cutting the Plants
Use sharp scissors or pruning shears to cut the branches of your plants. Make sure to cut close to the base, leaving enough room for the roots to dry out later.
2. Drying and Curing
After harvesting, the buds need to be dried and cured to enhance their potency and flavor. Hang the buds upside down in a cool, dark place with good air circulation. After about 7-14 days of drying, transfer the buds to glass jars for curing. Curing takes about 2-4 weeks, but the longer you cure your buds, the smoother and more flavorful they will be.
Read Also : How to Choose Cannabis Seeds for Indoor Growing
Conclusion
Growing cannabis from seed to harvest requires patience, knowledge, and care, but the rewards are worth it. By choosing the right seeds, preparing the soil, and providing the appropriate care throughout the different growth stages, you can successfully grow your own cannabis at home. Whether you’re cultivating for personal use or starting a small-scale home-growing business, this guide provides the foundation for a successful cannabis harvest.
As you gain experience, you’ll learn to fine-tune your growing methods and experiment with new techniques to maximize your yields and improve the quality of your plants. Happy growing!